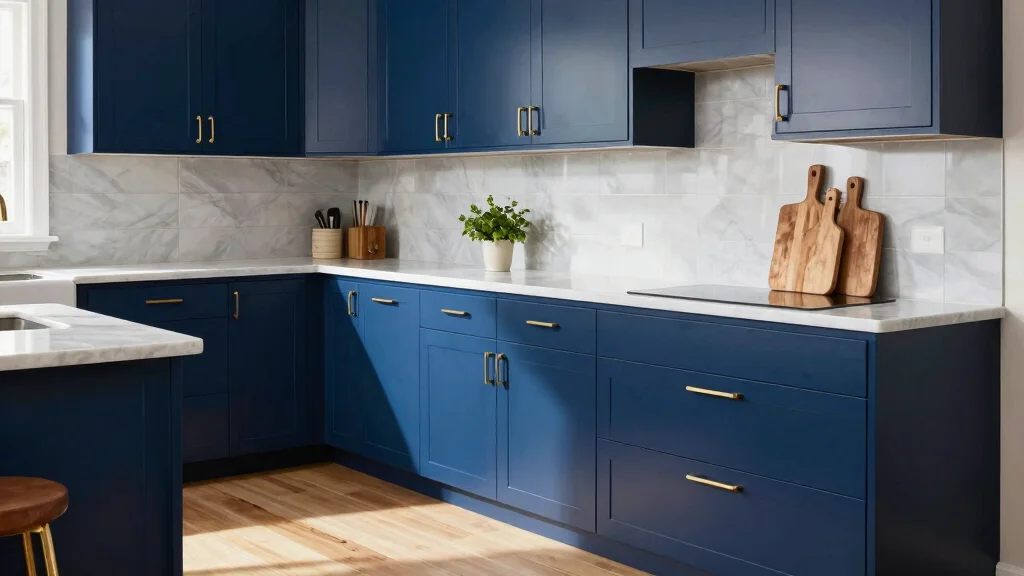
Painting kitchen cabinets can feel like a daunting task, but it doesn’t have to be. Many homeowners crave a kitchen that not only looks fresh and modern but also reflects their personal style. Transforming your cabinets is one of the easiest ways to achieve this look. If you’ve been dreaming about a kitchen makeover but don’t know where to start, you’re in the right place.
This guide is for DIY enthusiasts, home decor lovers, and anyone eager to elevate their kitchen space without hiring a professional. If you want to achieve that polished, professional finish on your cabinets, you’ll find these tips invaluable. I’ve gathered 12 essential strategies that are practical and straightforward, perfect for anyone ready to roll up their sleeves and get started.
By the end of this post, you’ll not only feel more confident about painting kitchen cabinets, but you’ll also have a game plan that includes the latest color trends and professional techniques. Get ready to turn your kitchen into a space that you’ll be proud to show off!
Key Takeaways
– Choose the Right Paint: Select high-quality paint specifically designed for cabinets. This ensures durability and a smooth finish that stands the test of time.
– Prep Like a Pro: Proper preparation is key to success. Clean, sand, and repair your cabinets to create an ideal surface for painting.
– Use Primer for Better Coverage: A good primer helps paint adhere better and provides a more uniform color, making your final coat look flawless.
– Invest in Quality Brushes and Rollers: Using the right tools can make all the difference. Quality brushes and rollers can help you achieve a professional finish with fewer brush strokes.
– Explore Color Trends: Don’t shy away from bold colors or modern shades. Explore current cabinet color trends to find a hue that complements your kitchen decor and personal style.
Recommended Products

Use for a variety of indoor and outdoor project surfaces including wood, metal, plaster, masonry or unglazed ceramic

Use for a variety of indoor and outdoor project surfaces including wood, metal, plaster, masonry or unglazed ceramic
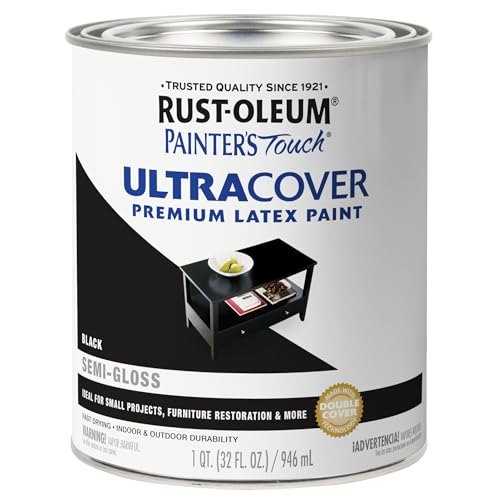
Use for a variety of indoor and outdoor project surfaces including wood, metal, plaster, masonry or unglazed ceramic
1. Choose the Right Paint
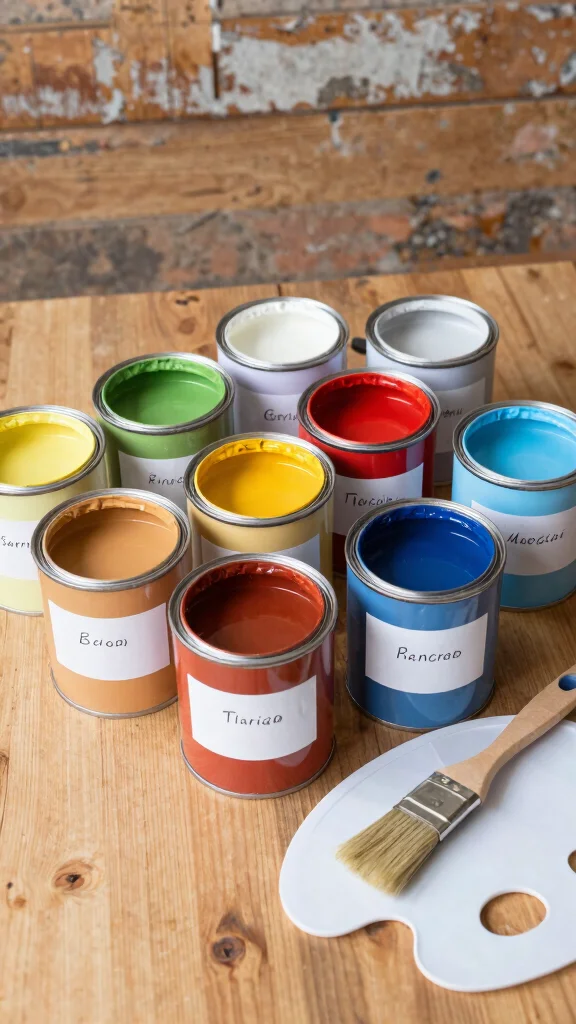
Choosing the right paint is essential for a successful cabinet makeover. A high-quality, durable paint, such as acrylic latex, withstands moisture and frequent cleaning, making it ideal for kitchens. Consider using satin or semi-gloss finishes, as they provide a subtle shine while being easy to maintain. For a rustic vibe, explore chalk paint, or opt for oil-based paint for a smoother finish that feels luxurious.
When picking paint, research brands known for durability and color retention. Investing in quality paint saves you from frequent touch-ups down the road. If you want a unique touch, consider having your paint custom-mixed to match your vision, ensuring your cabinets stand out beautifully.
Choosing the right paint is the secret to a cabinet makeover that lasts. For painting kitchen cabinets, I reach for acrylic latex with satin or semi-gloss—it’s easy to clean, durable, and keeps color true. If you want a cozy vibe, chalk paint works, but start with a trusted brand.
Recommended Products
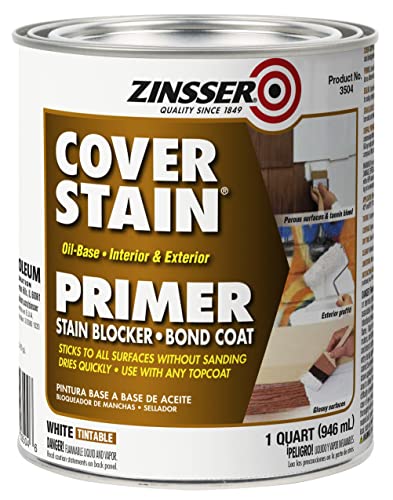
Cover stain, QT, Oil based stain killer primer/sealer

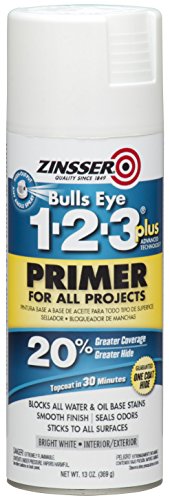
Interior/exterior use on new or previously painted Drywall, concrete, wood, masonry, metal and glossy or difficult surfaces
Choose the Right Paint
Editor’s Choice

Krylon K05615007 COLORmaxx Acrylic Latex Brush On Paint for Indoor/Outdo…
 Amazon$11.49
Rust-Oleum 206540 Chalkboard Brush-On Paint, 30 oz, Black
Amazon$16.49
Rust-Oleum 372007 Transformations Basics Cabinet & Trim Paint, Quart, Pu…
Amazon$17.792. Prep Like a Pro
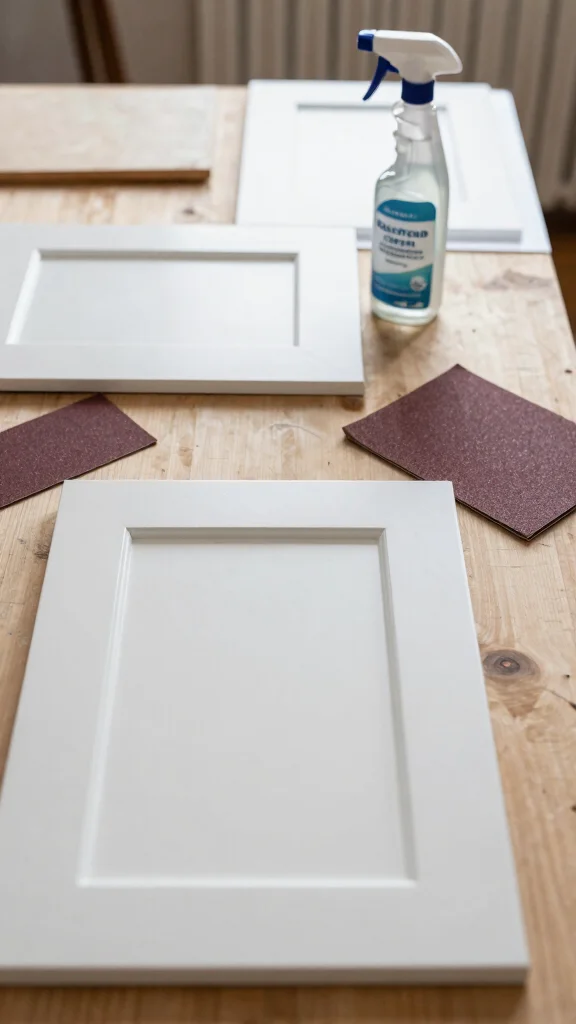
Proper preparation is the secret to achieving a professional finish. Begin by removing all cabinet doors and hardware to simplify the process. Clean surfaces with a degreaser to eliminate grime and oils, ensuring the paint adheres well. A light sanding is critical; it helps the paint grip better and prevents chipping.
If your cabinets have a glossy finish, applying a primer can enhance adhesion, especially when transitioning to lighter colors. Remember, taking the time to prep thoroughly sets the stage for a flawless outcome.
Recommended Products

【4 Nozzles & 3 Spray Patterns】VONFORN 700W paint sprayer includes 4 nozzle sizes (1.0mm, 1.5mm, 2.0mm, 3.0mm) to accommodate various DIY projects on surfaces such as furniture, fences, walls, doors, and garden sets. It supports 3 adjustable spray patterns: horizontal, vertical, and circular, making it suitable for a wide variety of application scenarios

PAINT SPRAYER FOR COUNTLESS DIY PROJECTS: The HomeRight Super Finish Max paint sprayer offers the ultimate DIYing experience. It’s great for applying a great finish on small to large projects like fences, decks, furniture, cabinets, dressers and more.

【Powerful 2026 Brass Motor & No-Thinning Paint】This HVLP paint sprayer is powered by a 2026 upgraded brass motor, delivering strong atomization with minimal noise and heat. It handles 90% of paints without thinning, drastically reducing clogging and overspray for a smooth finish on walls, furniture, and cabinets.
Prep Like a Pro
Editor’s Choice

INSL-X SXA11009A-04 Stix Acrylic Waterborne Bonding Primer, 1 Quart, White
Amazon$25.33
Spray Nine 26801 Heavy Duty Cleaner, Degreaser & Disinfectant for Home, …
Amazon$13.48
54PCS Premium Micro Sander, Detail & Mini Sander Block – Precision Sma…
Amazon$6.993. Use Primer for Better Coverage
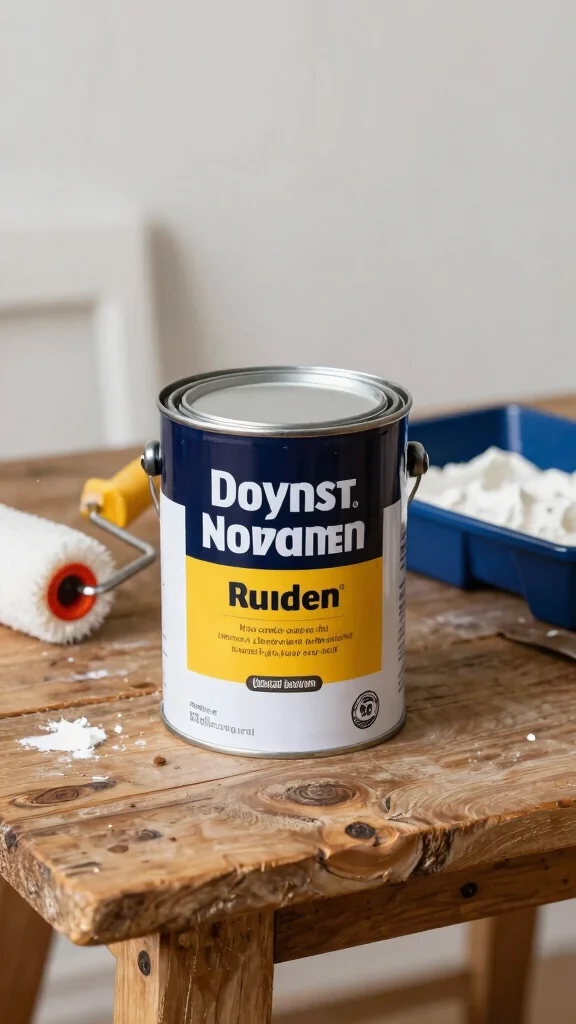
Using a primer may seem like an extra step, but it significantly enhances your painting results. A quality primer blocks previous colors from bleeding through and improves topcoat adhesion, leading to a uniform finish. Choose a bonding primer suitable for glossy surfaces to ensure optimal results.
If you’re shifting from dark to light shades, a tinted primer can minimize the number of paint coats needed. This approach saves you time and effort, streamlining your cabinet painting project.
Recommended Products

Beyond paint counter top paint pint - color - bone

Nuvo is a D.I.Y. one-weekend cabinet makeover process that does not require any cabinet removal or priming Get professional-looking results with just a roller and brush

8 Grits for Every Sanding Need:This 32PCS sanding sponge kit includes 180-3000 grit options, from coarse material removal (180 grit) to ultra-fine polishing (3000 grit). Perfect for woodworking, metal polishing, auto body repair, and craft models—whether you're a DIYer or professional
How To Choose The Right Paint for Kitchen Cabinets
When you’re diving into a kitchen cabinet makeover, selecting the right paint is crucial for achieving that professional look. The paint you choose can affect the overall appearance, durability, and maintenance of your cabinets. Here are some important criteria to keep in mind:
1. Type of Paint
You’ll want to opt for either oil-based or water-based paint. Oil-based paints are durable and provide a smooth finish, but take longer to dry. Water-based paints dry quickly and have less odor, making them user-friendly. Many DIYers prefer water-based paints for kitchen cabinets due to easier cleanup and low VOC levels.
2. Finish
The finish of your paint can make a significant impact on your kitchen decor ideas. Glossy finishes are more resistant to stains and easier to clean, while matte finishes can hide imperfections but may require more maintenance. A semi-gloss or satin finish is often the sweet spot for kitchen cabinets, balancing durability and aesthetics.
3. Color Selection
Colors can set the mood in your kitchen. Trending cabinet colors include deep blues, soft greens, and classic whites. When choosing a color, consider your overall kitchen decor ideas and natural lighting. Sample swatches on your cabinets can help visualize how a color will look in different lighting conditions throughout the day.
4. Quality
Investing in high-quality paint is essential for a long-lasting finish. Cheaper paints may require more coats and can wear off quickly. Look for brands that are specifically designed for cabinets and furniture. These products typically offer superior adhesion, coverage, and longevity.
5. Budget
While it might be tempting to save money on paint, consider the long-term costs. High-quality paint may have a higher upfront price but can save you from frequent repainting. Factor in the cost of supplies and tools as well to get a complete picture of your budget.
Pro Tip: Always test a small area first! Paint a sample on an inconspicuous spot of your cabinet to see how it adheres and looks before committing to the entire project. This way, you can ensure the color and finish meet your expectations.
Choosing the right paint for your kitchen cabinets can seem daunting, but by carefully considering these criteria, you’ll set yourself up for success in your DIY cabinet painting project. Armed with the right paint, your kitchen will radiate a professional finish that enhances your home decor.
Recommended Products

COLORS BY ANNIE SLOAN: Canvas is a soft versatile color that can be the star of the show or work with other colors as the perfect neutral. This organic putty-tinted shade is named after the shade you will find on a painter’s canvas. Canvas is a pale muted beige that will work as the perfect furniture paint in both contemporary and traditional interiors.

EASY TO USE, EVEN FOR BEGINNERS: Whether you’re new to DIY or a pro, Rust-Oleum Chalked makes painting easy and enjoyable. Minimal prep required means you can jump right into your project confidently and focus on creativity—not complicated steps

Includes 30 featured and newest released color card. Sprayed on color to see our colors in your homes lighting for more accurate color choices.
Use Primer for Better Coverage
Editor’s Choice
INSL-X SXA11009A-04 Stix Acrylic Waterborne Bonding Primer, 1 Quart, White
Amazon$25.334. Invest in Quality Brushes and Rollers
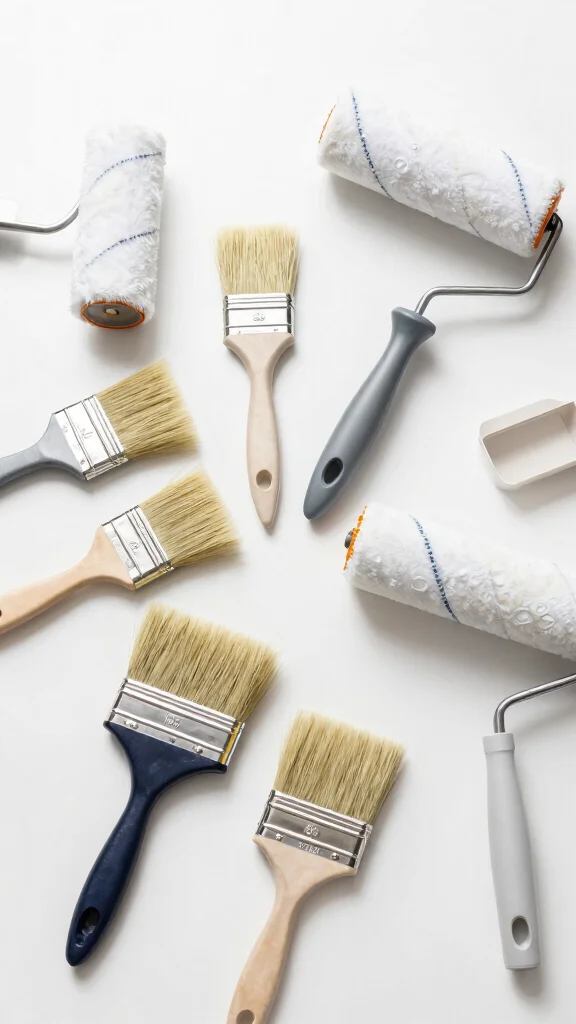
The tools you select can greatly impact your cabinet painting experience. Opt for high-quality brushes and rollers to achieve a smoother application and a professional-looking finish. A 2- to 3-inch angled brush works well for corners and detail work, while foam rollers provide an even coat on flat surfaces.
Maintain your brushes by cleaning them between coats. Ensure your tools are compatible with your chosen paint type. While quality tools may have a higher upfront cost, the impressive results will make it worthwhile.
Recommended Products

CABINET TRANSFORMATION: Refresh outdated cabinets, vanities, furniture and trim with rich Pure White color and a smooth semi-gloss finish
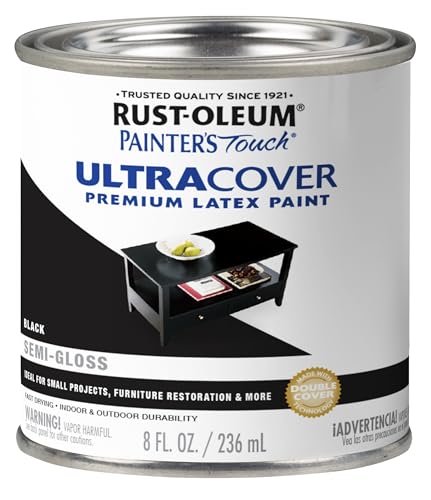
Use for a variety of indoor and outdoor project surfaces including wood, metal, plaster, masonry or unglazed ceramic

Protects indoor wood surfaces such as furniture, windows, cabinets, trim and more
Invest in Quality Brushes and Rollers
Editor’s Choice
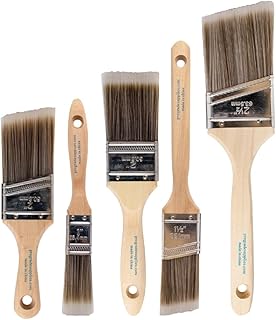
Pro Grade Paint Brushes, 5-Piece Paint Brush Set: Flat & Angle Brushes f…
Amazon$7.99
Pro Grade Paint Brushes, 5-Piece Paint Brush Set: Flat & Angle Brushes f…
Amazon$7.99
Pro Grade – Paint Roller Covers – 1/2 X 9 Inch Microfiber 5 Pack
Amazon$9.995. Apply Thin Coats

Thin and even coats are crucial for a polished look when painting cabinets. Thick layers can lead to drips and uneven surfaces, ruining your hard work. Start with a light first coat, allowing ample drying time before applying the next. Patience is essential for achieving the best results.
Aim for at least two coats of paint for rich, uniform color. If you’re using lighter hues, a third coat may be necessary for complete coverage. It’s better to apply more coats than to face a messy outcome later.
Fun fact: 2 thin coats beat 1 thick coat, every time. When painting kitchen cabinets, 2 light coats plus a possible 3rd for light hues deliver smoother, more durable color with fewer drips than a single heavy layer.
Recommended Products

Bonds to glossy surfaces without scuff sanding

Designed for interior and exterior surfaces

Get ultimate hiding power indoors and out with Zinsser Cover Stain Primer
Apply Thin Coats
Editor’s Choice

Paint Sprayer, 700W HVLP Spray Gun with Cleaning & Blowing Joints, 4 Noz…
Amazon$49.99
Pro Grade Paint Brushes, 5-Piece Paint Brush Set: Flat & Angle Brushes f…
Amazon$7.99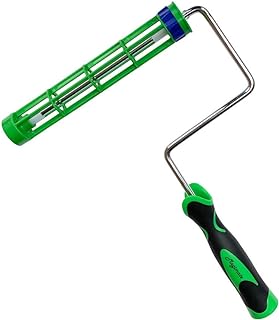
Paint Roller Frame for General Core Roller Covers, 9-inch Non-Slip Rolle…
Amazon$9.976. Don’t Rush the Drying Process
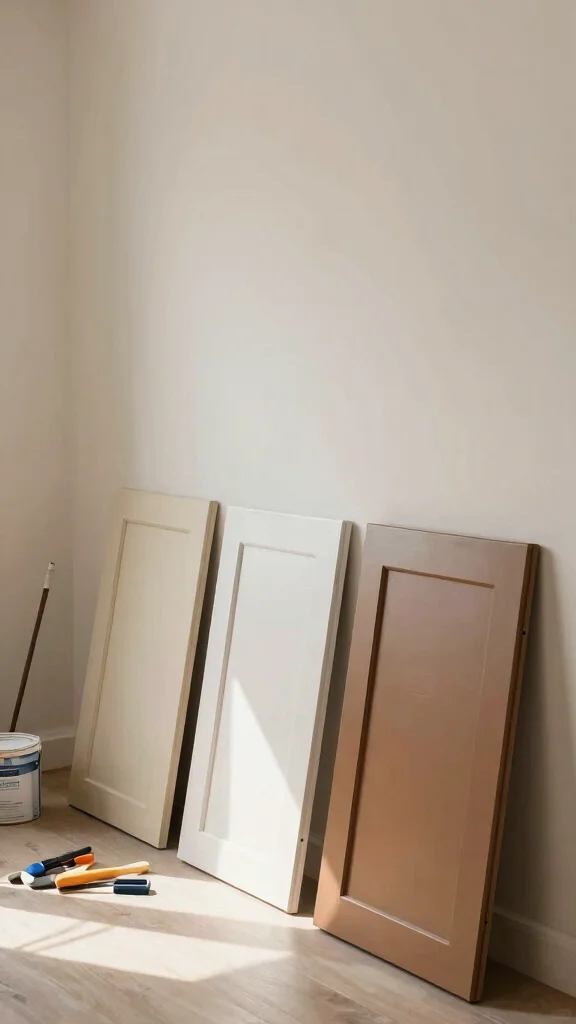
It’s tempting to hurry through painting, especially with exciting results on the horizon. However, allowing adequate drying time between coats is vital for a professional finish. Follow the paint can’s instructions for drying times, and generally, wait at least 24 hours before the next coat.
For the best outcome, work in a well-ventilated area with moderate temperatures. After applying your final coat, let it cure for a couple of days before reattaching hardware and doors, ensuring durability and a lasting impression.
Recommended Products
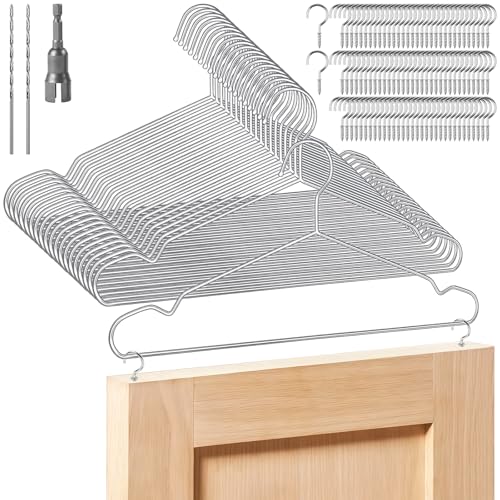
CABINET DOOR HANGER KIT FOR PAINTING AND DRYING: Includes 20 stainless steel hangers (15.75" x 7.64"), 100 screw-in cup hooks (1.47" x 0.75"), 2 drill bits, 1 wing nut driver bit, and a user manual—perfect for tackling multiple cabinet doors, drawers, or shelves at once.
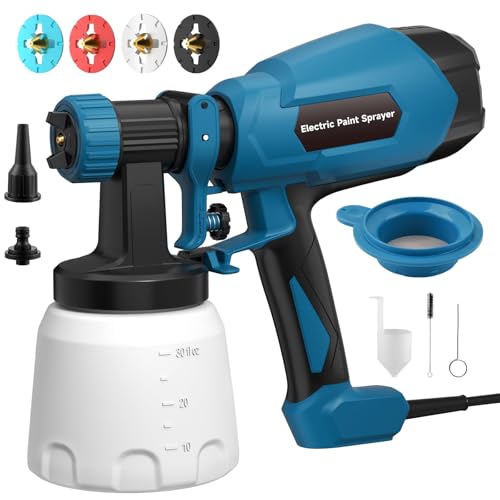
【3 Spray Patterns & 4 Brass Nozzles】This corded paint sprayer includes 3 spray patterns (horizontal, vertical, circular) and 4 brass nozzles (1mm, 1.5mm, 2mm, 3mm), making it suitable for both larger surfaces and detailed work. Selecting the proper nozzle size helps achieve more even coverage and better control for different projects.
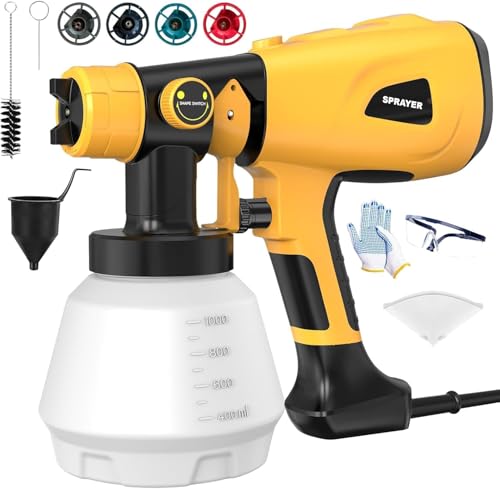
1000W High Power & Versatile Spraying:Equipped with a 1000W motor, this electric paint sprayer provides reliable power for various home projects. It features 4 nozzle sizes (1.0mm, 1.8mm, 2.5mm, 3.0mm) and 3 spray patterns (Horizontal, Vertical, and Circular), allowing you to select the precise setup for furniture, walls, fences, or garden chairs.
You might also like
Don’t Rush the Drying Process
Editor’s Choice
Rust-Oleum 372007 Transformations Basics Cabinet & Trim Paint, Quart, Pu…
Amazon$17.79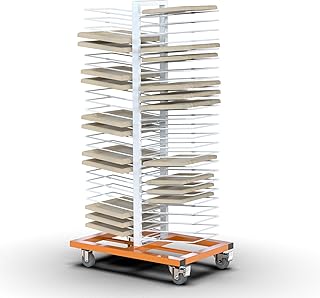
Tredre 50 Shelves Paint Drying Rack with 4 Casters for Cabinet & Full-Si…
Amazon$399.98
8-Inch High-Velocity Portable Utility Blower Fan, Industrial Exhaust Fan…
Amazon$101.507. Reattach Hardware with Care
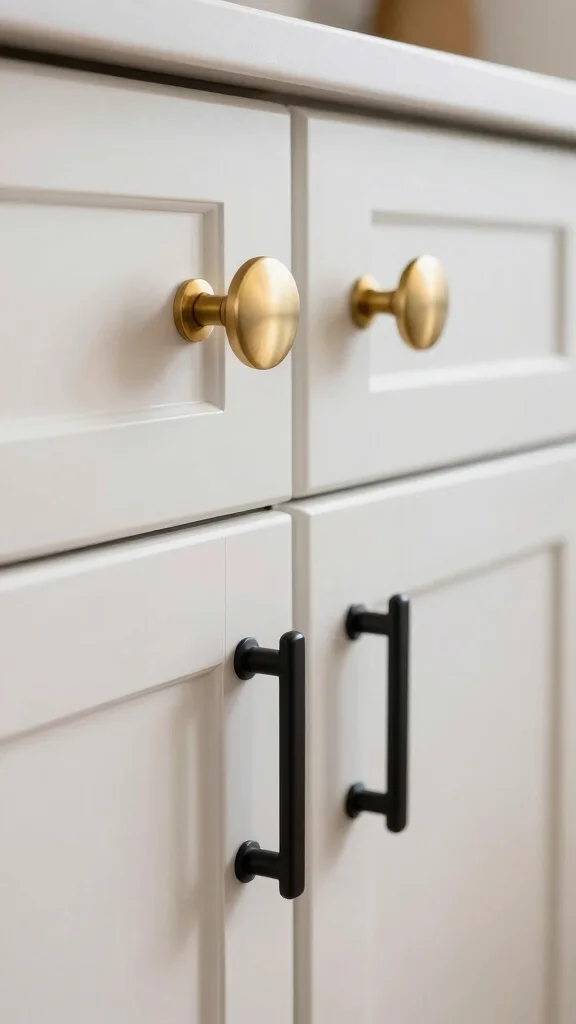
Reattaching cabinet hardware might seem straightforward, but it can significantly affect your kitchen’s aesthetic. Once your cabinets are fully dry, carefully reinstall the hardware, ensuring everything is perfectly aligned. Use a measuring tape for consistency.
This is also a great opportunity to update your knobs or handles. Trendy options like matte black or brushed gold can breathe new life into your cabinets. Properly installed hardware enhances both appearance and functionality, ensuring smooth operation.
Fun fact: for painting kitchen cabinets, perfectly aligned hardware makes them look 20% more polished. Measure twice, install once, and reattach hardware with care after the finish dries. Upgrade with matte black or brushed gold knobs to boost both style and everyday function.
Recommended Products

Coastal Serenity: Tidal Haze offers a dusty, pale blue reminiscent of misty mornings on the U.S. Eastern coastline, perfect for bright, airy contemporary decor.
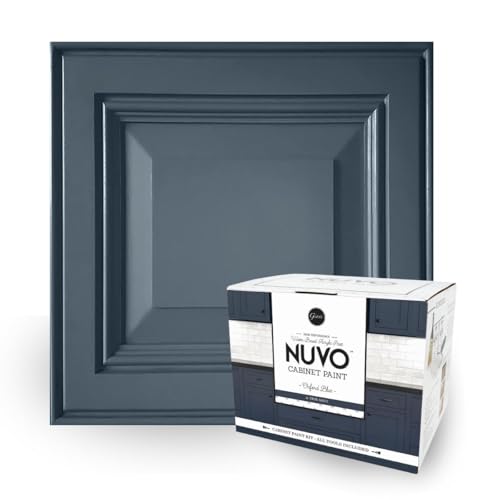
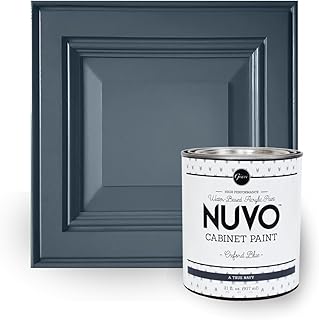
Regal Navy Elegance: Oxford Blue, a bold, true navy, mirrors the official color of the prestigious English University, ideal for both modern and classic decor.
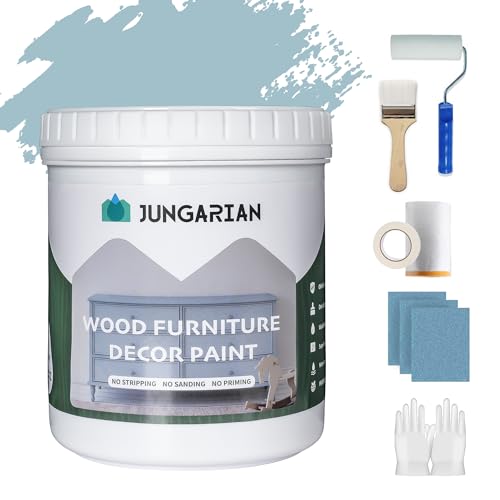
【Use Freely Furniture Paint】No need for time-consuming polishing or primer, our wood one step paint can be directly applied to your furniture,saving you time and effort in your DIY or refurbishment
Reattach Hardware with Care
Editor’s Choice

Cabinet Hardware Jig, King&Charles Cabinet Handle Jig with Automatic Cen…
Amazon$9.99
CRAFTSMAN 25-Ft Tape Measure with Fraction Marketing, Retractable, Manua…
Amazon$12.98
Ravinte 30 Pack Solid Knobs Kitchen Cabinet Round Pulls Dresser Handles …
Amazon$48.998. Explore Color Trends
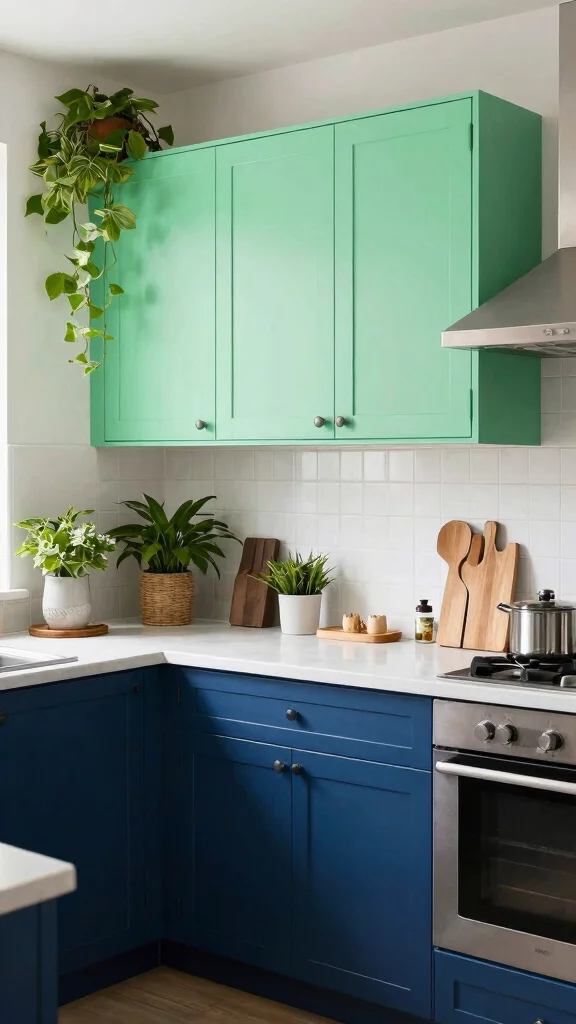
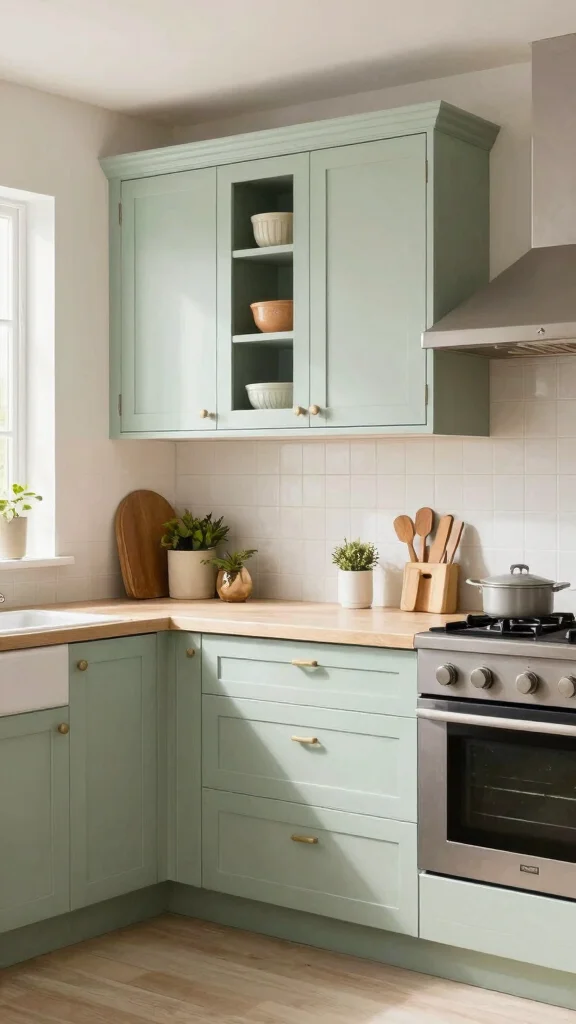
The right color can dramatically transform your kitchen’s ambiance. While classic white cabinets continue to charm, current trends embrace bold colors like navy blue or sage green for a striking look. These hues create stunning backdrops for your kitchen decor.
If you’re feeling creative, consider a two-tone approach with upper cabinets in one color and lower in another. This adds visual interest and depth while pulling from your kitchen decor for a cohesive design.
Recommended Products
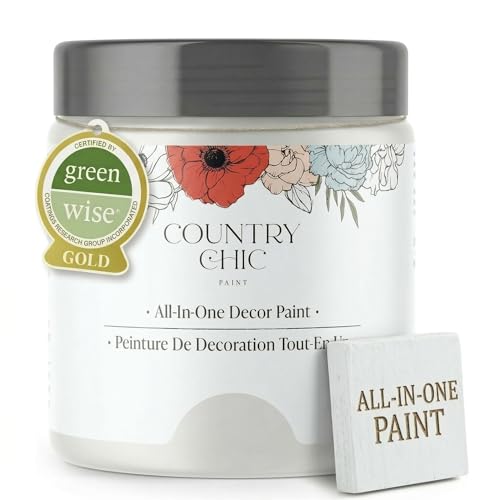
All-in-One Formula: This furniture paint includes a built-in primer and top coat, providing seamless application on wood, metal, laminate, and more surfaces for a hassle-free painting experience.

EASY TO USE, EVEN FOR BEGINNERS: Whether you’re new to DIY or a pro, Rust-Oleum Chalked makes painting easy and enjoyable. Minimal prep required means you can jump right into your project confidently and focus on creativity—not complicated steps

Includes 30 featured and newest released color card. Sprayed on color to see our colors in your homes lighting for more accurate color choices.
9. Embrace Finishing Touches
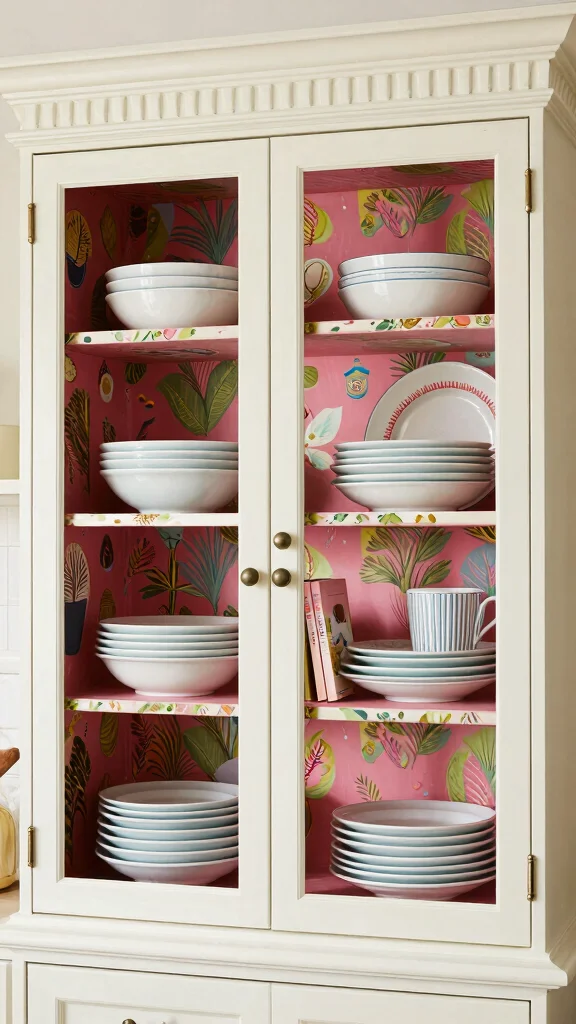
After all your hard work, don’t overlook the finishing touches that elevate your cabinets. Consider adding decorative trim or crown molding for a refined, custom look. These elements can make your cabinets feel professionally designed.
You can also line the inside of your cabinets with contact paper for a personal touch. Remember, these little details can significantly impact the overall feel of your kitchen, so take the time to perfect them.
Embrace Finishing Touches
Editor’s Choice

Heroad Contact Paper Peel and Stick Wallpaper Wood Grain Contact Paper f…
Amazon$3.99
Leinuosen Flexible Molding Trim Peel and Stick for Walls 10ft Decorative…
Amazon$11.99
12 Pcs Wall Molding Trim, Split Wood Slats Mouldings Unfinished Fluted W…
Amazon$15.9910. Maintain Your Cabinets
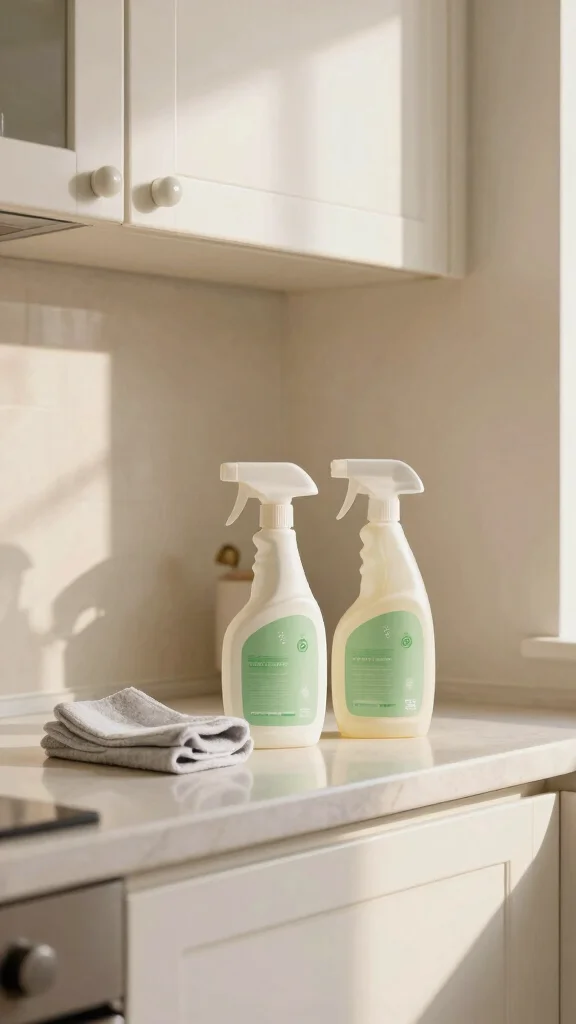
Once your cabinets are beautifully painted, maintaining their appearance is key. Use a gentle cleaner that won’t damage the finish, and avoid abrasive sponges that could scratch the surface. Regularly wipe down your cabinets to keep them looking fresh and vibrant.
Don’t forget to check the hardware for loose screws or wear. Spending a few minutes each month on maintenance can help prevent larger issues and keep your cabinets looking stunning for years.
Maintain Your Cabinets
Editor’s Choice


You Might Also Like
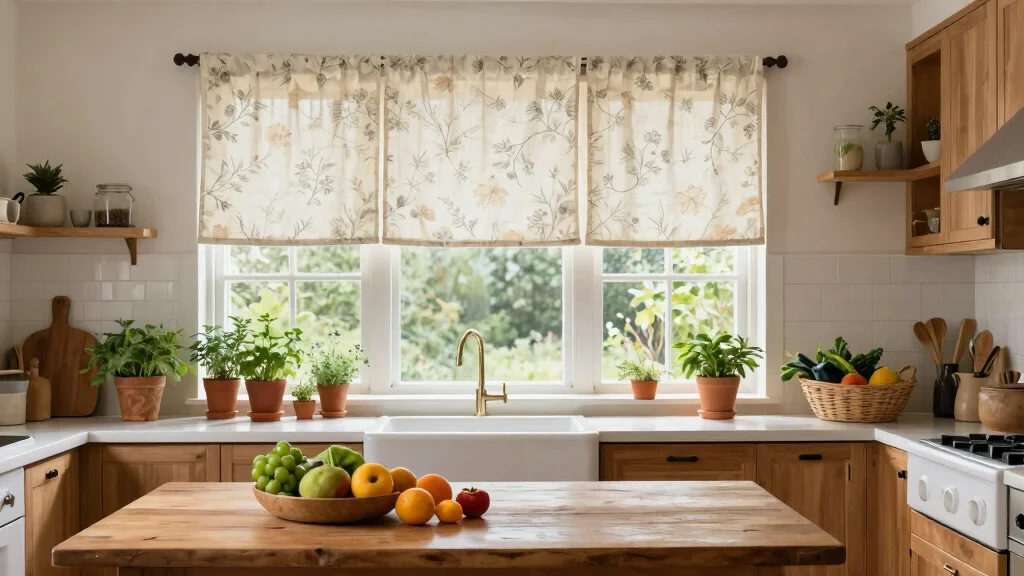
11. Seek Professional Help if Needed
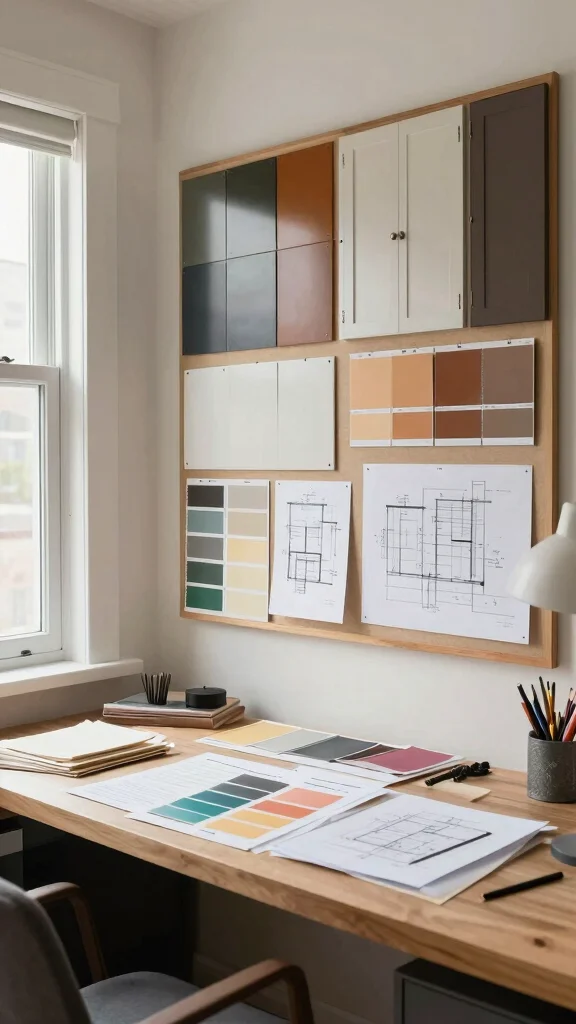
If you ever feel overwhelmed during your cabinet painting project, consider reaching out for professional help. Whether you need a contractor for consultation or someone to handle the painting, it can be beneficial. Professionals can offer valuable insights and may save you time and hassle.
Additionally, following seasoned professionals on social media or blogs can inspire you and improve your DIY skills for future projects. There’s no shame in seeking assistance; collaboration often leads to the best results.
Seek Professional Help if Needed
Editor’s Choice
Rust-Oleum 372007 Transformations Basics Cabinet & Trim Paint, Quart, Pu…
Amazon$17.79
Rejuvenate Cabinet And Furniture Restorer Fills In Scratches, Shines And…
Amazon$11.63
Paint Sprayer, 700W HVLP Spray Gun with Cleaning & Blowing Joints, 4 Noz…
Amazon$49.9912. Enjoy Your New Space!
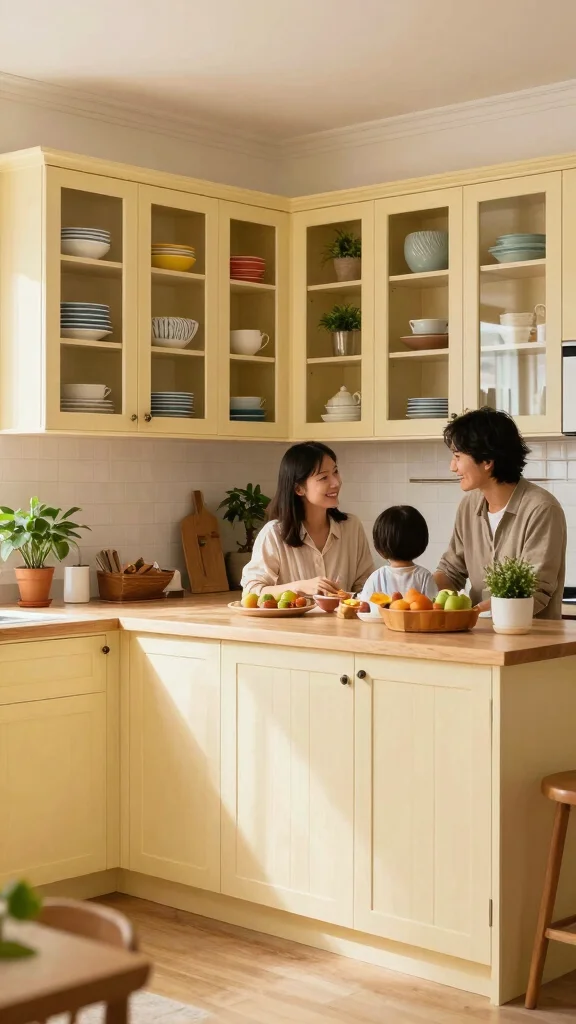
With all your hard work culminating in stunning results, take a moment to enjoy your transformed kitchen! Celebrate the fresh look of your newly painted cabinets and share your accomplishment with friends and family. Your kitchen can significantly enhance your home’s atmosphere, adding warmth and personality.
Don’t hesitate to showcase your project on social media; your friends will likely be inspired by your creativity and the beautiful transformation you’ve achieved with just a bit of paint. Here’s to enjoying beautiful kitchens and the joy of DIY!
Enjoy Your New Space!
Editor’s Choice




Conclusion
Painting kitchen cabinets is more than just a change of color; it’s a chance to personalize your space and express your style. Each of these tips provides a stepping stone towards achieving that professional finish you’ve always wanted. Remember, the key lies in preparation, quality materials, and those little details that pull everything together. So gather your supplies, unleash your creativity, and enjoy the transformation process! Happy painting!
Note: We aim to provide accurate product links, but some may occasionally expire or become unavailable. If this happens, please search directly on Amazon for the product or a suitable alternative.
This post contains Amazon affiliate links, meaning we may earn a small commission if you purchase through our links, at no extra cost to you.
Frequently Asked Questions
What are the essential steps for painting kitchen cabinets that actually look professional?
Achieving a professional look starts with solid prep and the right products. Start by removing doors and hardware, then clean and degrease all surfaces so paint sticks well.
Protect surrounding areas, and either sand or degloss glossy surfaces to create a gripping surface for primer. Use a bonding primer designed for cabinets, then apply thin, even coats of a quality DIY cabinet painting enamel using professional paint techniques—light coats beat heavy layers every time.
Let each coat dry completely and sand lightly between coats for a super smooth finish. Finish with a durable topcoat, reattach hardware, and you’ll have a beautiful kitchen cabinet makeover that looks showroom-ready.
Should I degloss, sand, or prime first when painting kitchen cabinets, and which method yields the smoothest finish?
When in doubt, combine methods for the strongest adhesion. Start with a deglosser to break up slick finishes, or give glossy surfaces a light sand to create a key. Then prime with a bonding primer designed for cabinets to lock in adhesion and seal out moisture.
Apply thin coats of paint using professional paint techniques (brush, roller, or spray) and sand lightly between coats for a flawless finish. This approach keeps your DIY cabinet painting looking sharp and durable through years of kitchen wear.
What paint finish and products are best for a durable, professional look on kitchen cabinets?
Opt for a cabinet enamel in a semi-gloss or satin finish for durability and easy cleaning. Water-based formulas level nicely and reduce odor, but high-quality oil-based enamels can still deliver a glassy look if you prefer. Use professional paint techniques such as multiple thin coats and a final topcoat (a clear polyurethane or water-based sealer) for long-lasting shine. This choice is central to any kitchen cabinet makeover and DIY cabinet painting project.
How can I choose cabinet colors that align with cabinet color trends while fitting my kitchen decor ideas?
Start with trends you love, but tailor them to your space. Look at cabinet color trends like warm neutrals, chalky whites, soft grays, and muted greens, then test them in your kitchen decor ideas with large swatches on a sample board or a hidden door panel. Consider lighting, countertops, and hardware—these affect how a color reads. Try several options and live with them for a day or two before committing to a kitchen cabinet makeover color plan that stays in harmony with the rest of your decor.
How long does a DIY kitchen cabinet painting project take, and how can I plan to achieve a pro-like result?
A typical DIY cabinet painting project spans a few days to a weekend, depending on cabinet count and drying times. Plan time for prep and deglossing, priming, painting in thin coats, and the required cure time between topcoats. Allow 24 hours between coats and give the final topcoat a full cure, ideally 3–5 days, before reattaching doors. Break the work into clear steps, stock up on supplies ahead of time, and follow a steady routine to deliver a professional paint techniques finish that makes your kitchen cabinet makeover feel magazine-worthy.
Related Topics
home decor
DIY kitchen
cabinet makeover
professional techniques
kitchen decor
color trends
beginner friendly
quick tips
budget friendly
advanced painting
modern cabinets
furniture refinishing